|
By Serialsiner
Feb 15 2005
Hi, in this tutorial we're
gonna learn how to achieve a disappearance with cool particle effects, as in
special effects movies !
Part 1: preproduction
First of all, we need some
live footage to import into the sequence editor ; I took a webcam and I shot a
short sequence with 2 young actors as you can see in the small animation below
:
Then, I shot the empty set without moving the webcam (very important detail) to
achieve the vanishing effect of the little boy.
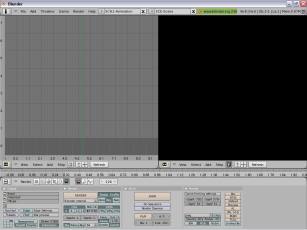
Part 2: postproduction
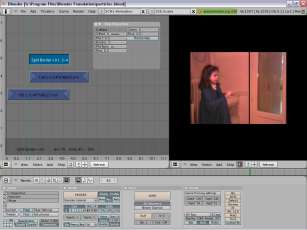
Now we're gonna import the
footage into Blender's sequence editor. First, we have to split the screen in
two halves and to select the editor on each window : 
In one of them, click on
 to be able to vizualise your
sequences.
to be able to vizualise your
sequences.
Now you should see that :
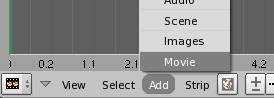
To import your footage, click on Add =>Movie, and search it into your directories
then hit Select Movie in the upper right coner of the window.

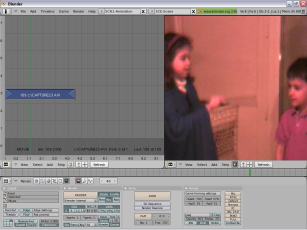
Put your sequence on frame
1 on the far left end of the window. Now, if you move the frame cursor (green
line) onto your sequence, you will see the result in the vizualisation window
:
Now it's time to have the little boy disappeared : for that goal, we need the
empty shot that we're gonna move few frames forward to the point where Hermione
uses her magical wand : let's append the sequence as seen earlier, to frame
40.
To achieve the effect, we have to download the splitb1
plugin. This plugin will vertically split both sequences in 2 halves so we can
keep Hermione on one side till the end of the sequence, and from frame 40, the
empty set of the second sequence will hide the little boy, giving the illusion
he has diseappered.
Now select both sequences (hold Shift + RMB) and add the plugin.
Place it over both sequences,
then select it and hit Nkey to access the control sliders.
The Offset slider lets you move the vertical seam, put every other one to zero.
Don't forget to hit Do Sequence in the Scene panel (F10) to be able to see the
plugin work 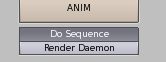
On the picture below, I let the seam slightly visible (black line) for you to
see the dividing line:
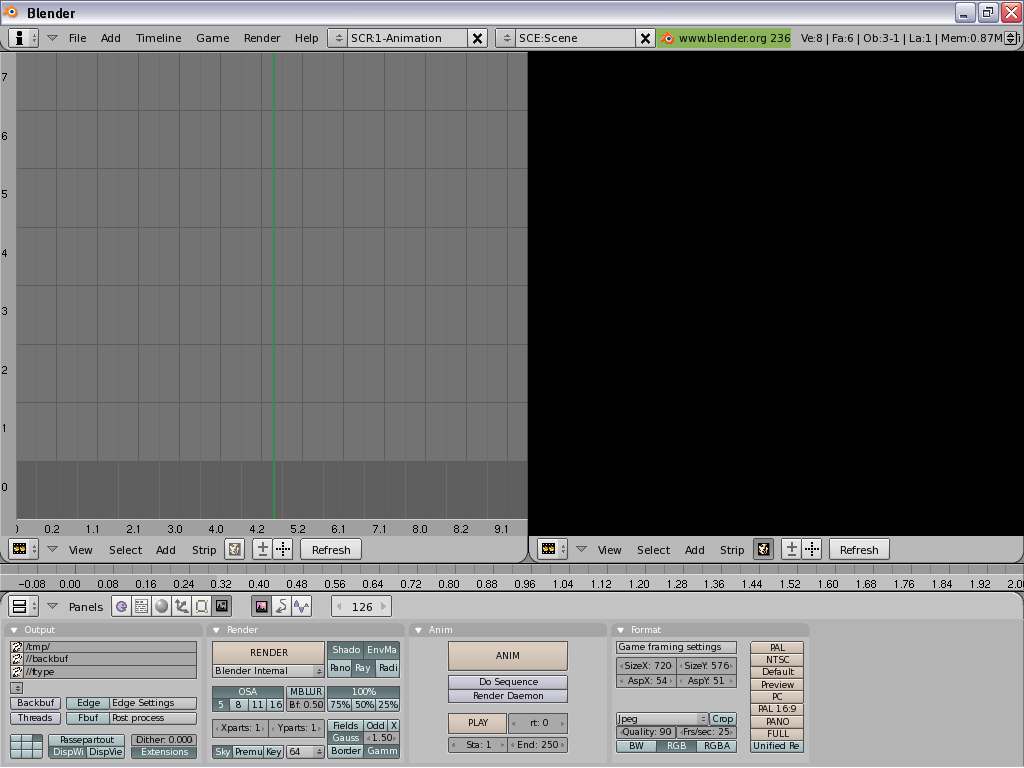
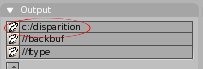
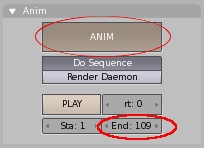
It's time to render the vanishing animation but first we have to choose an output
directory and a name for the animation in the Scene panel (F10) :
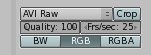
Don't forget to select the output format for the animation, I'm using avi raw
as it is a lossless one :
Now we can erase our 2 sequences and the plugin, then we append the new rendered
sequence.
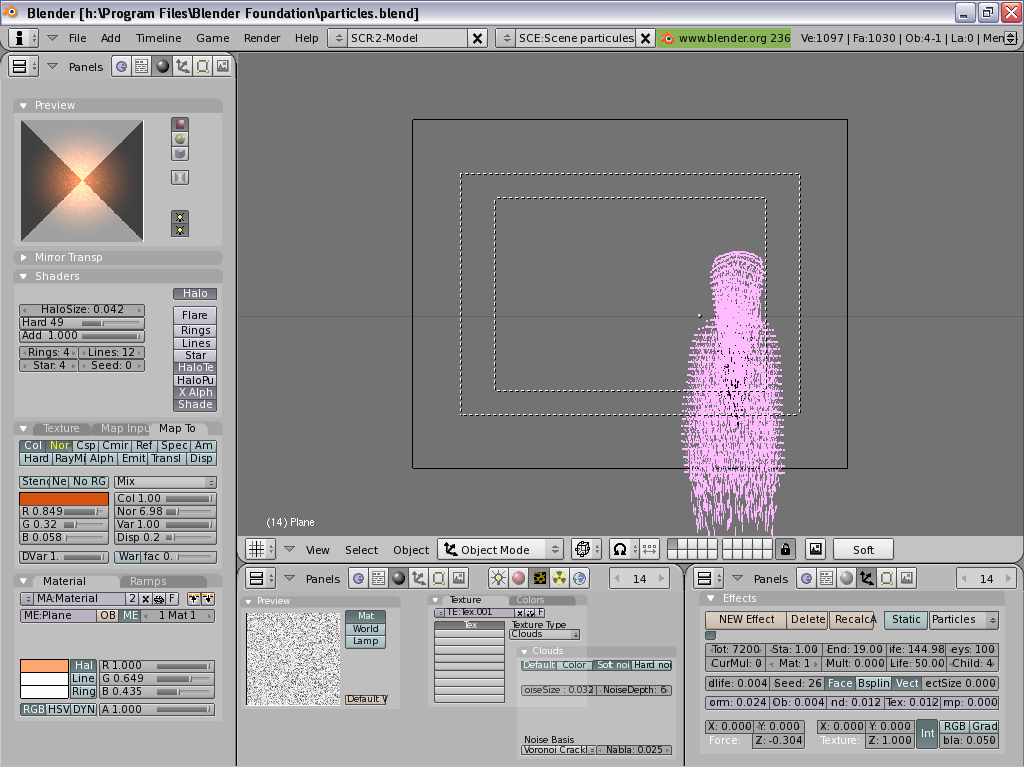
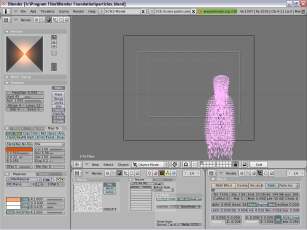
Let's go into the 3D window and add a subdivided plane. Give it the shape of
the little boy and add a particle effect to it. You can see the settings on
the picture below. To have the particles go down I used a negative Z force,
and for the sparkle look, I toggled the vector button:
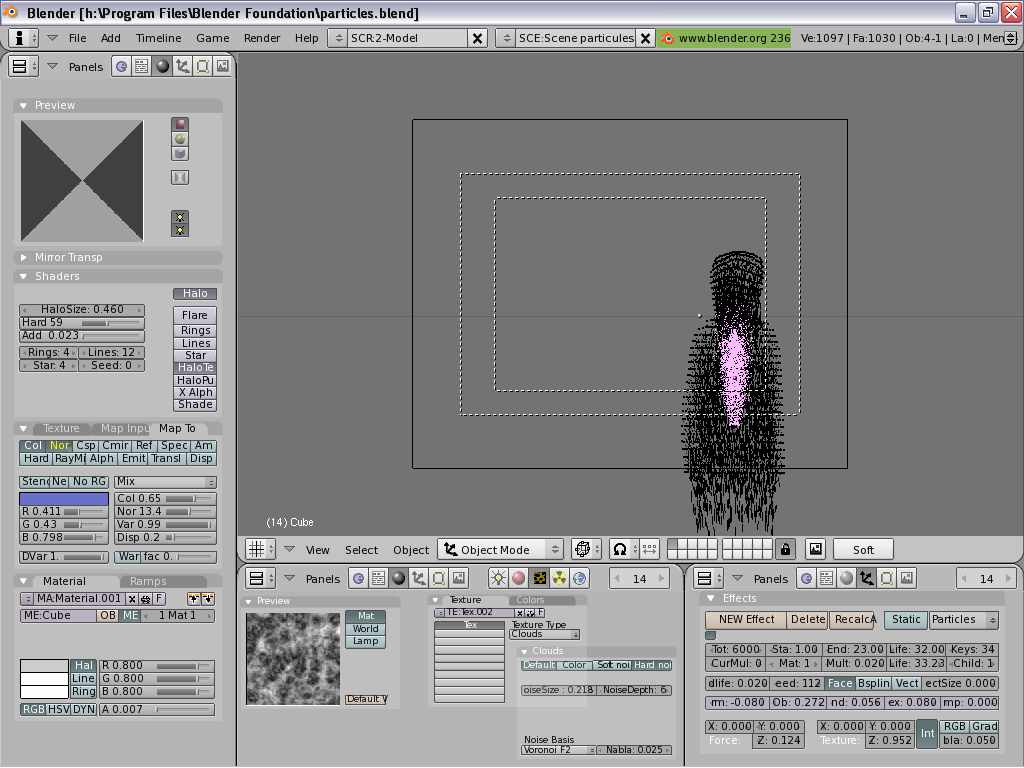
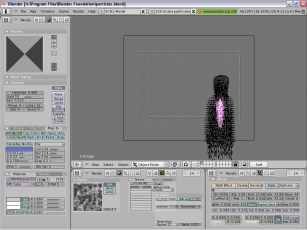
Now let's add a second emitor for the smoke effect, we'll apply a positive Z
force to the particles for the smoke to go upwards :
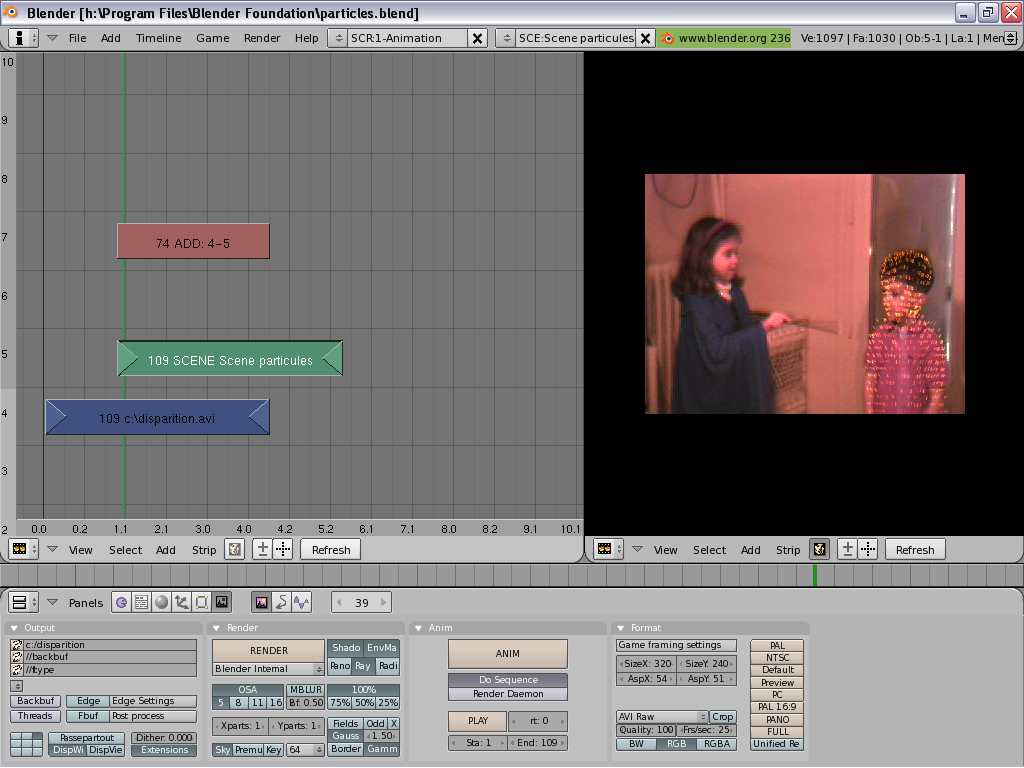
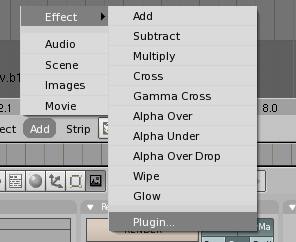
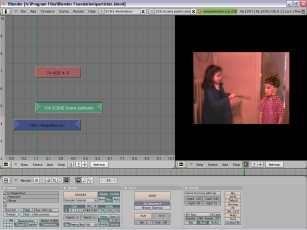
Now let's go back to the sequence editor where we imported the vanishing sequence,
and let's append our particles scene. Select both sequence and scene (hold Shift
+ RMB) and add the Add effect.
Moving the scene on the right frame, we can decide with precision when the particle
effect will begin. I choosed to start it a few frames before the desappearance
of the little boy.
In the same way, we can precisely fit the child's shape going back and forth
the 3D window, and editing the emitor plane's vertices.
You just have to render the animation till the end of the vanishing sequence,
and you can admire the result !
See the final animation by clicking on the links below :
divx
5.21 (1.1Mo)
xvid
(417 ko)
|